
前端面试题
1.强缓存和协商缓存
参考文章(很详细):
https://blog.csdn.net/weixin_46358949/article/details/126312947
(1)强缓存
使用强缓存策略时,如果缓存资源有效,则直接使用缓存资源,不必再向服务器发起请求。
强缓存策略可以通过 http 头信息中的 Expires 属性和 Cache-Control属性两种方式设置
命中后返回 200
只要设置了 Expires 属性或者 Cache-Control 都可以使用强缓存策略
Expires 是http 1.0出的,兼容IE
Cache-Control是http 1.1出的。所以Cache-Control优先级高于Expires
(2)协商缓存
如果命中强制缓存,我们无需发起新的请求,直接使用缓存内容,如果没有命中强制缓存,如果设置了协商缓存,这个时候协商缓存就会发挥作用了。
命中协商缓存的条件有两个:
max-age=xxx过期了- 值为
no-cache
使用协商缓存策略时,会先向服务器发送一个请求,如果资源没有发生修改,则返回一个 304 状态,让浏览器使用本地的缓存副本。如果资源发生了修改,则返回修改后的资源。
总结:
强缓存策略和协商缓存策略在缓存命中时都会直接使用本地的缓存副本,区别只在于协商缓存会向服务器发送一次请求。
它们缓存不命中时,都会向服务器发送请求来获取资源。在实际的缓存机制中,强缓存策略和协商缓存策略是一起合作使用的。
浏览器首先会根据请求的信息判断,强缓存是否命中,如果命中则直接使用资源。如果不命中则根据头信息向服务器发起请求,使用协商缓存,如果协商缓存命中的话,则服务器不返回资源,浏览器直接使用本地资源的副本,如果协商缓存不命中,则浏览器返回最新的资源给浏览器。
2. ajax 的基本使用
在AJAX实际运行当中,对于访问XMLHttpRequest(XHR)时并不是一次完成的,而是分别经历了
多种状态后取得的结果,对于这种状态在AJAX中共有5种,分别是。
0 - (未初始化)还没有调用send()方法
1 - (载入)已调用send()方法,正在发送请求
2 - (载入完成)send()方法执行完成,
3 - (交互)正在解析响应内容
4 - (完成)响应内容解析完成,可以在客户端调用了
简单来说:0 代表还未开始,1代表发送中,2 已经发送,3响应中,4已响应
<script>
        var xhr = new XMLHttpRequest();
        // 第一个参数是 请求方式为get ,第二个参数是代表请求的 url
        xhr.open('get','/data')
        xhr.send();
        xhr.onreadystatechange = function (){
            if(xhr.status===200 && xhr.readyState===4){
                // 响应数据
                xhr.response;
                console.log(xhr.response);
            }
        }
</script>
聊天室原理实现
轮询ajax
WebSocket
长连接(服务器不断开连接,响应一个头,持续响应)
下面代码就是长连接(利用状态为 3代表响应中 的特性来进行长连接):
<div id="view"></div>
<button id="ready-state">长连接</button>


<script>
    document.querySelector('#ready-state').onclick = function (){
        var  xhr = new  XMLHttpRequest()
        xhr.open('get','/readystate')
        xhr.send()
        xhr.onreadystatechange = function(){
            //利用状态为 3代表响应中 的特性来进行长连接
            if(xhr.status===200 && xhr.readyState===3){
                view.innerText += '\n' +xhr.response
            }
        }
    }
</script>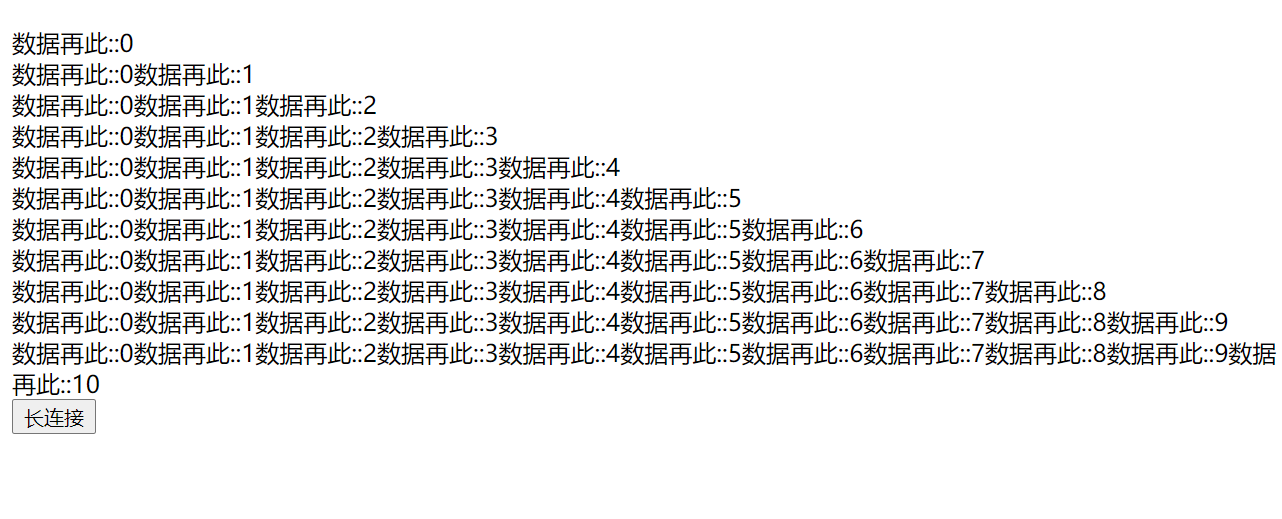
2.1 对ajax 进行promise 的封装
<script>
function req({method='get',url,data,headers}){
            return new Promise((resolve,reject)=>{
                var xhr = new XMLHttpRequest()
                xhr.open(method,url)
                for (let key in headers){
                    xhr.setRequestHeader(key,headers[key])
                }
                if(data){
                    xhr.send(data)
                }
                xhr.onreadystatechange=function(){
                    if(xhr.readyState===4){
                        if(xhr.status===200){
                            resolve(xhr.response) //成功的回调
                        }else{
                            reject(xhr.response) //失败的回调
                        }
                    }
                }
            })
        }
</script>
使用 封装的ajax
<script>
async function run(){
    let res  = await req({url:'/data'})
    console.log('res结果:',res);
}
//运行
run()
</script>
3.上传 和下载
3.1 同步(浏览器)上传
<!-- 上传-->
<!-- 同步(浏览器)上传 -->
<!-- action为url,method必须为post enctype="multipart/form-data" -->
<form action="/upload" method="post" enctype="multipart/form-data">
    <input type="file" name="file"></input>  <!--name字段必须要和后端提供的一致-->
    <button>同步(浏览器)上传</button>
</form>
这种上传会进行浏览器默认行为的跳转
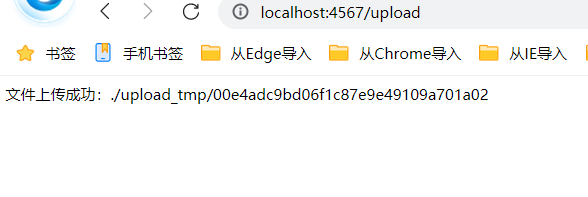
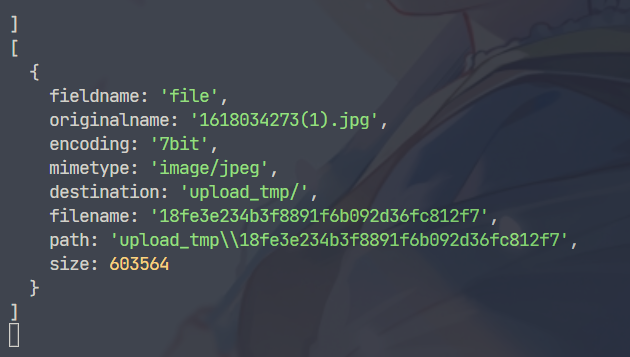
3.2 ajax异步上传
<h2>ajax异步上传</h2>
    <input type="file"name='file2' id="file2" multiple>
    <button id="ajaxAsyncUpload">ajax异步上传</button>

    <script>
        // 异步ajax上传
        ajaxAsyncUpload.onclick =async function(){
           let f1 = file2.files[0]  //获取到要上传的文件
           let fd = new FormData(); //创建容器载体
           fd.append('file',f1)
           let res = await req({
            url:'/upload',
            method:'post',
            data:fd
           })
           console.log('异步ajax上传:',res);
        }
    </script>
3.3 同步(浏览器)下载
<!--  下载   -->
   <!-- 同步(浏览器)下载 -->
   <h2>同步(浏览器)下载</h2>
   <a href="/README.md" download="自己起的文件名.md">同步(浏览器)下载</a>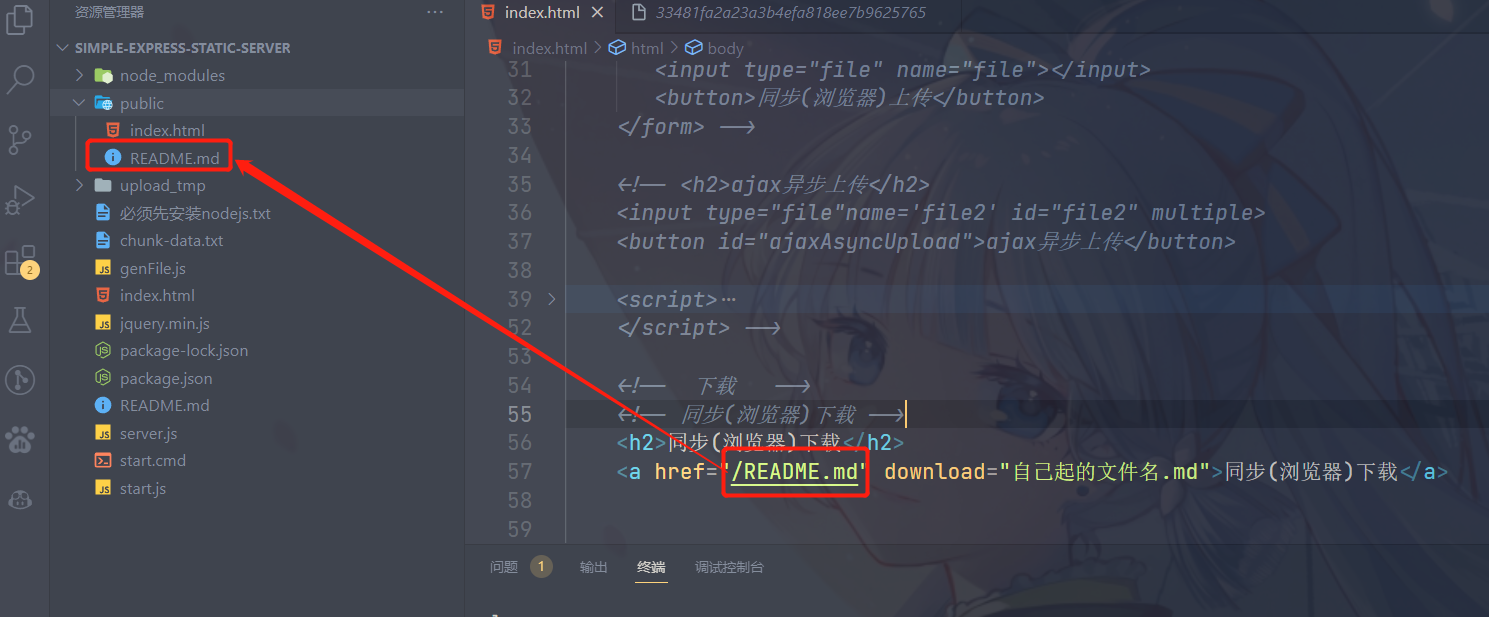
%E4%B8%8B%E8%BD%BD.gif)
3.4 异步下载
<!-- 异步下载 对 ajax 的封装添加一个responseType 字段 -->
<script>
        function req({method='get',url,data,headers,responseType}){
            return new Promise((resolve,reject)=>{
                var xhr = new XMLHttpRequest()
                xhr.open(method,url)
                for (let key in headers){
                    xhr.setRequestHeader(key,headers[key])
                }
                if (responseType) {
                    xhr.responseType = responseType
                }
                if(data){
                    xhr.send(data)
                }else{
                    xhr.send()
                }
                xhr.onreadystatechange=function(){
                    if(xhr.readyState===4){
                        if(xhr.status===200){
                            resolve(xhr.response) //成功的回调
                        }else{
                            reject(xhr.response) //失败的回调
                        }
                    }
                }
            })
        }
</script>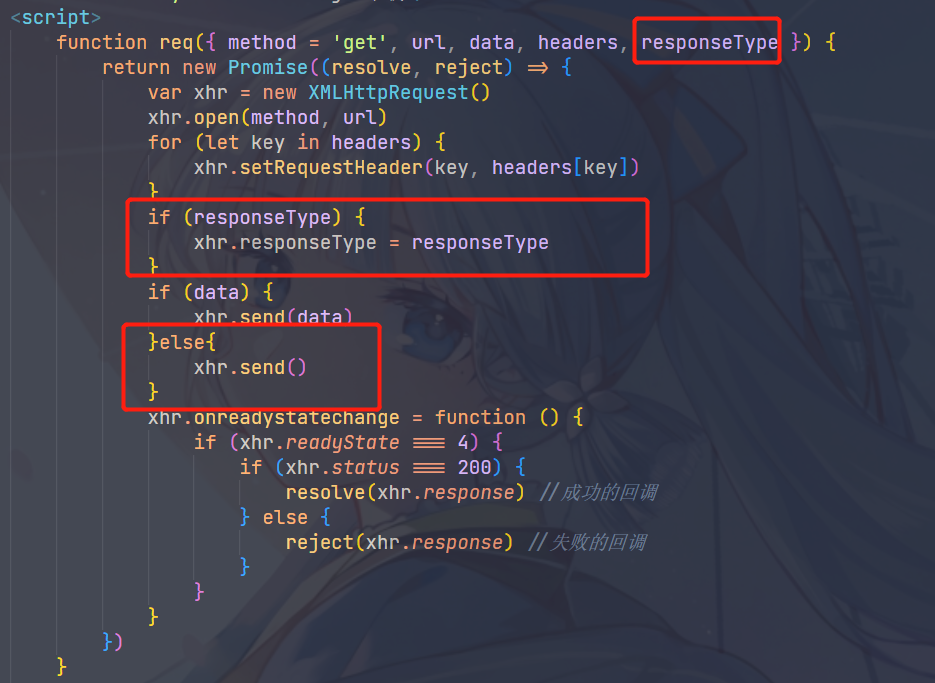
<!-- 异步下载 -->
  <h2>异步下载</h2>
  <button id="asyncDownload">ajax下载</button>

  <script>
     asyncDownload.onclick = async function(){
       let res  = await req({
           url:'/README.md',
           responseType:'blob'
       })
       console.log("结果:",res)

     }
  </script>
<!-- 异步下载 -->
    <h2>异步下载</h2>
    <button id="asyncDownload">ajax下载</button>

    <script>

        asyncDownload.onclick = async function () {
            let res = await req({
                url: '/README.md',
                responseType: 'blob'
            })
            console.log("结果:", res)
            // 调用下载的方法
            downloadForTag(res, '我的下载.md')


        }
        function downloadForTag(blob, filename) {
            let url = window.URL.createObjectURL(blob)
            console.log(url, '内存地址指向文件');

            let a = document.createElement('a') //创建 a 标签
            a.href = url //设置href
            a.download = filename //指定下载的文件名称
            a.style.display = 'none' //不显示在页面上
            document.body.appendChild(a) // 插入文档中
            a.click() //点击a 标签
            a.remove() //释放a 标签(释放资源)
            window.URL.revokeObjectURL(url)  //释放资源
        }

    </script>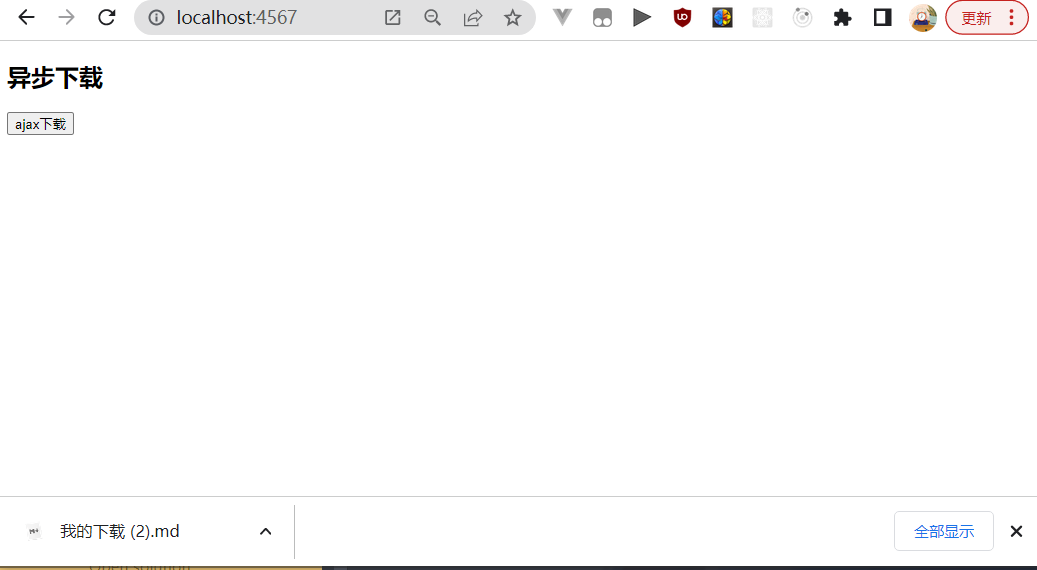
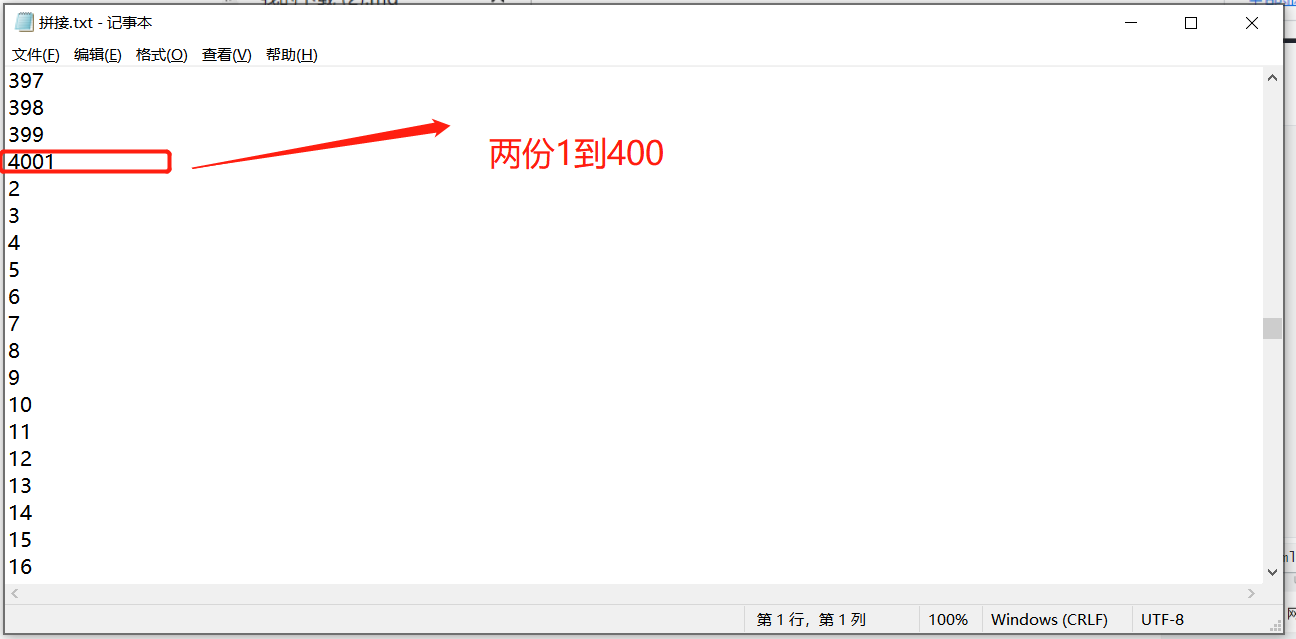
3.5 文件合并
<h2>文件合并</h2>
    <button id="fileJoin">文件合并</button>

   <script>
    fileJoin.onclick =async function(){
        let res = await req({
            url:'/chunkfile',
            responseType:'blob'
        })
        let arraybuffer =await res.arrayBuffer()
        // 拼接成双倍
        downloadForTag(new Blob([arraybuffer,arraybuffer]),'拼接.txt')
    }
   </script>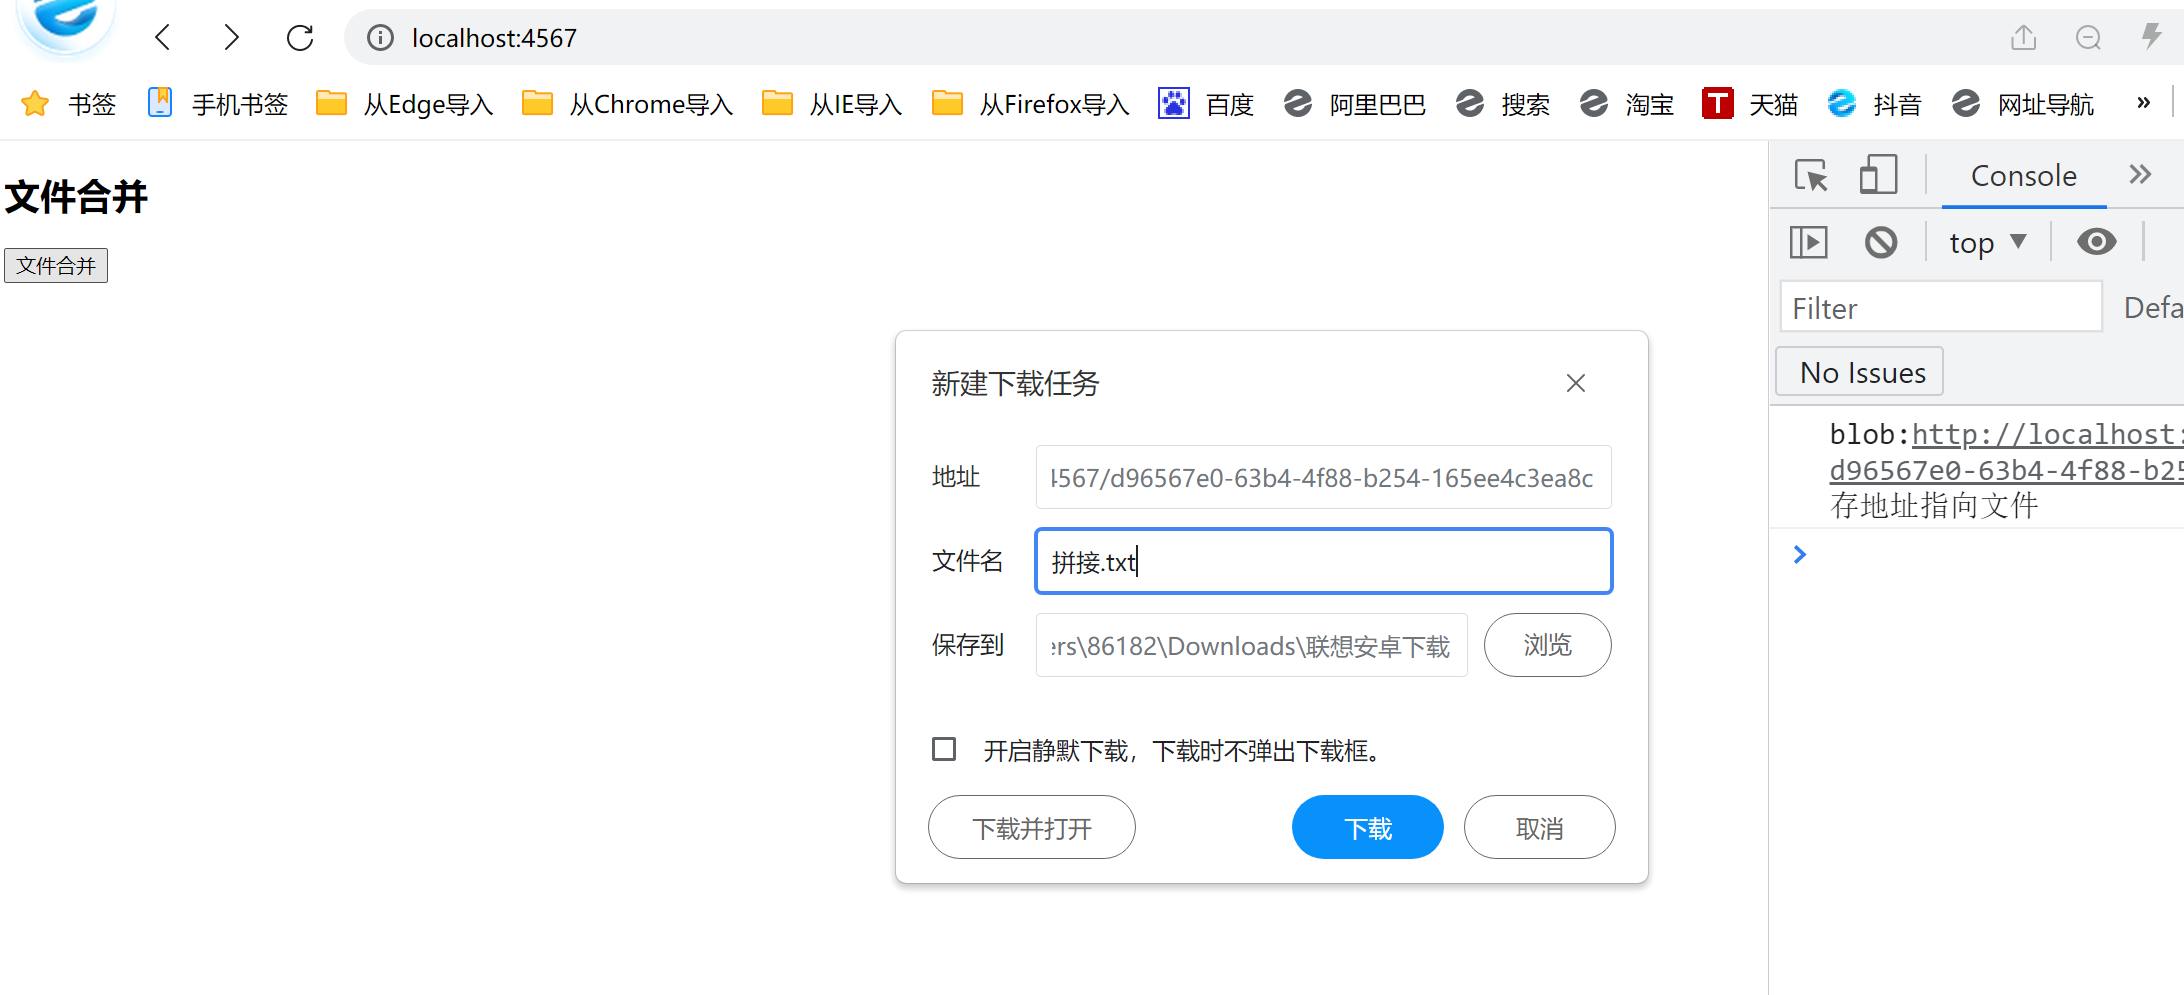
3.6 文件切割
<h2>文件切割</h2>
   <button id="fileSplit">文件切割</button>

   <script>
    // 文件切割
    fileSplit.onclick =async function(){
        let res  = await req({
            url:'/chunkfile',
            responseType:'blob'
        })
        let arraybuffer = await res.arrayBuffer()
        let index = 1
        let len = arraybuffer.byteLength / 2 //切割两份
        for(let i=0;i<arraybuffer.byteLength; i+=len){
            downloadForTag(new Blob([arraybuffer.slice(i,i+len)]),`切片${index++}.txt`)
        }

    }
 </script>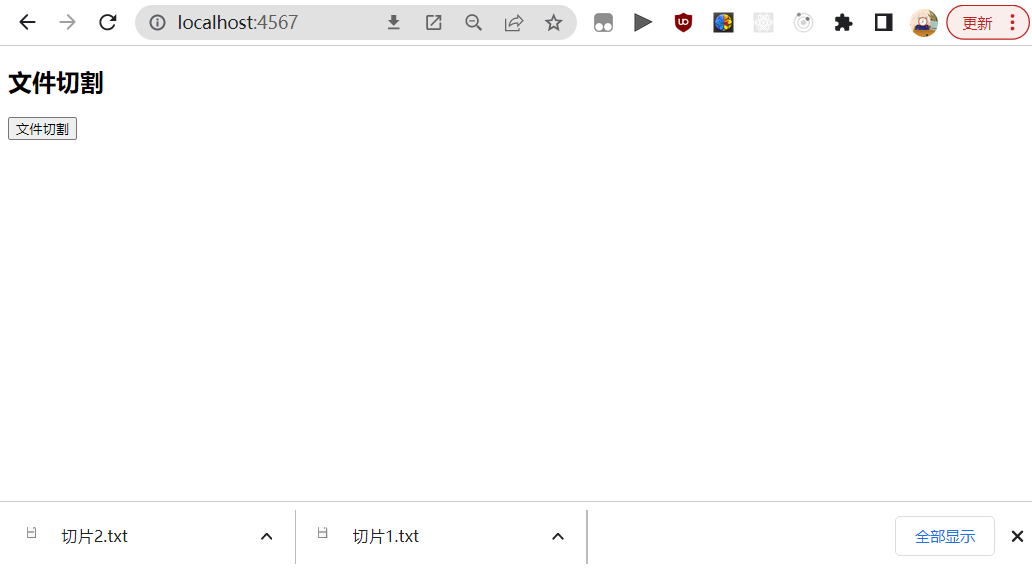
4.同源策略,和跨域解决方案
4.1同源策略
两个页面拥有相同的协议,端口,域名 就是同源,如果有一个不相同就是不同源。
4.2. 跨域解决方案1—-JSONP
JSONP 全称JSON with Padding,译为“**带回调的 JSON**”,它是 JSON 的一种使用模式。
原理:利用的是外链请求非ajax不受限制的特点来实现
缺点:只能发送get请求
4.3. CORS(后端通过设置响应头告诉浏览器不要多管闲事)(**(CROSS-Origin Resource Sharing** 跨域资源共享)
4.4. Proxy代理 (由当前页面的服务器帮助我们转发,不存在跨域之说)
5.vue 表单生成器
uniapp项目
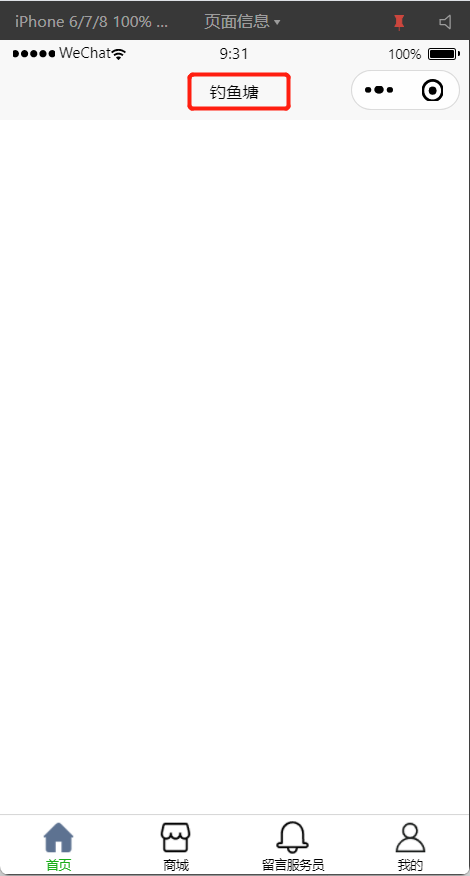
1、实现底部tabbar页面

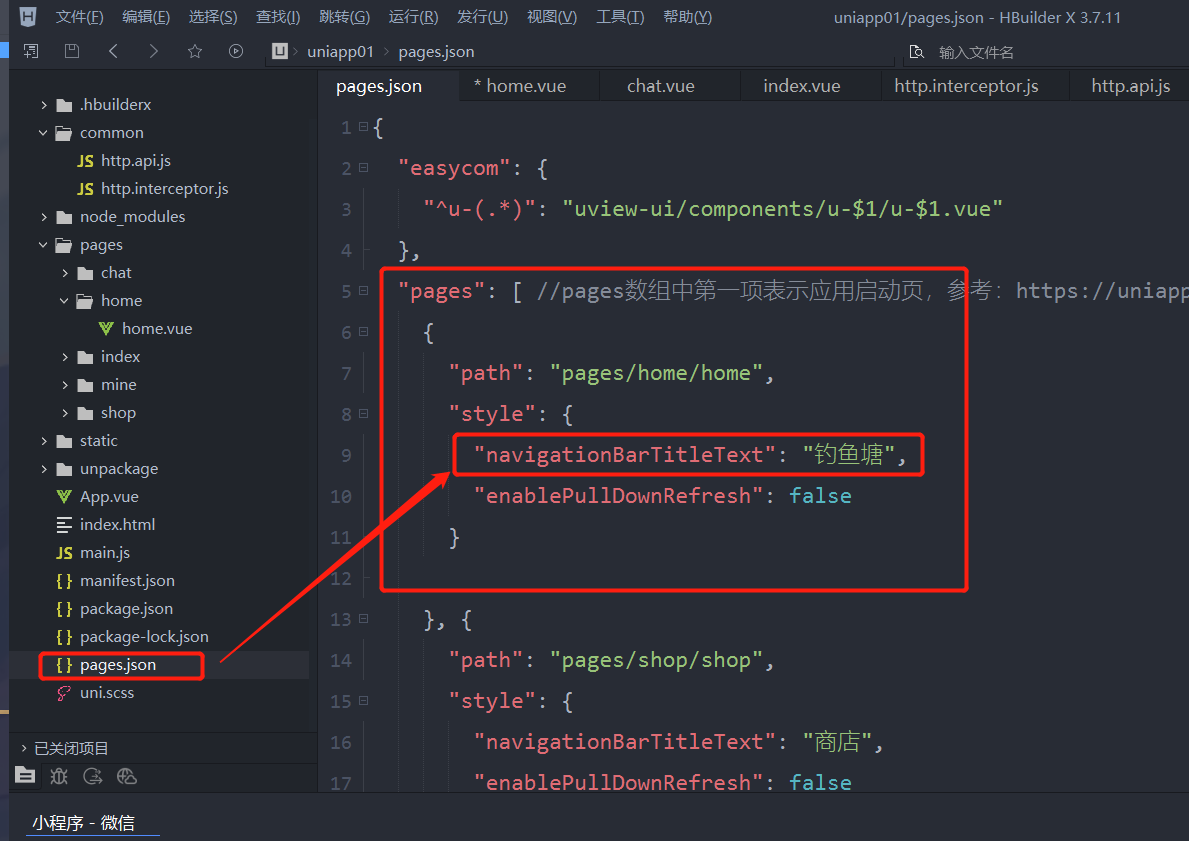
在pages.json中配置tabBar配置
pages.json文件
...
"tabBar": {
		"list": [{
				"pagePath": "pages/home/home",//页面路径
				"text": "首页", //显示文本
				"iconPath": "/static/home@2x.png", //未选中icon显示
				"selectedIconPath": "/static/home_active@2x.png" //选中icon显示
			},
			{
				"pagePath": "pages/shop/shop",
				"text": "商城",
				"iconPath": "/static/shop@2x.png",
				"selectedIconPath": "/static/shop_active@2x.png"
			},
			{
				"pagePath": "pages/chat/chat",
				"text": "留言服务员",
				"iconPath": "/static/chat@2x.png",
				"selectedIconPath": "/static/chat_active@2x.png"
			},
			{
				"pagePath": "pages/mine/mine",
				"text": "我的",
				"iconPath": "/static/mine@2x.png",
				"selectedIconPath": "/static/mine_active@2x.png"
			}
		]
	}
2.配置标题栏
3. 使用uview的轮播图(首页)
<template>
  <view>
    <!-- 轮播图 -->
    <view class="banner">
      <u-swiper :list="list"></u-swiper>
    </view>
  </view>

</template>

<script>
  export default {
    data() {
      return {
        // 轮播图示例数据,属性必须为image属性和title属性
        list: [{
            image: 'https://cdn.uviewui.com/uview/swiper/1.jpg',
            title: '昨夜星辰昨夜风,画楼西畔桂堂东'
          },
          {
            image: 'https://cdn.uviewui.com/uview/swiper/2.jpg',
            title: '身无彩凤双飞翼,心有灵犀一点通'
          },
          {
            image: 'https://cdn.uviewui.com/uview/swiper/3.jpg',
            title: '谁念西风独自凉,萧萧黄叶闭疏窗,沉思往事立残阳'
          }
        ],

      };
    },

  }
</script>由于必须指定属性为image 才会显示图片,使用当获取到数据时,需要手动指定要显示的属性
<template>
  <view class="wrap">
    <view class="wrap-in">
      <!-- 轮播图 -->
      <view class="banner">
       <!-- 指定要显示的属性 为 pic_url-->
        <u-swiper :list="list" name='pic_url'></u-swiper>
      </view>
    </view>

  </view>

</template>

<script>
  export default {
    data() {
      return {
        // 轮播图列表
        list: [],


      };
    },
    onLoad() {
      this.getBanner()

    },
    methods: {
      // 获取轮播图数据
      async getBanner() {
        const res = await this.$u.api.getBanners()
        console.log("轮播图的res: ", res);
        this.list = res.data.home_pages[0].banners
      }

    },
  }
</script>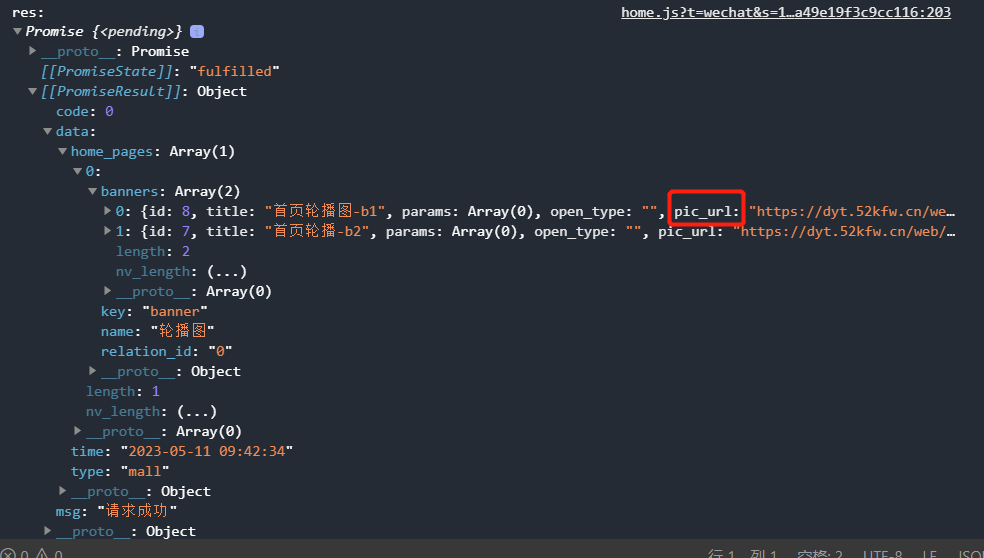
4.NoticeBar 滚动通知 组件的使用(首页)

<!-- 2.2 NoticeBar 滚动通知  volume-icon 是否显示喇叭 -->
       <view class="info">
         <u-notice-bar mode="horizontal" :list="noticeList" type="none" :volume-icon="false"></u-notice-bar>
       </view>
需要的数据是:res.data 下的每一项 content
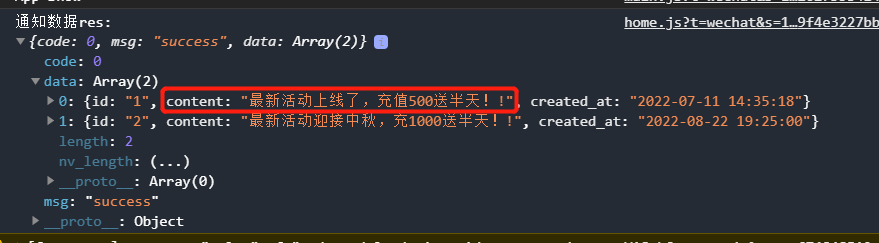
this.noticeList = res.data.map(item=>item.content) //使用map进行遍历即可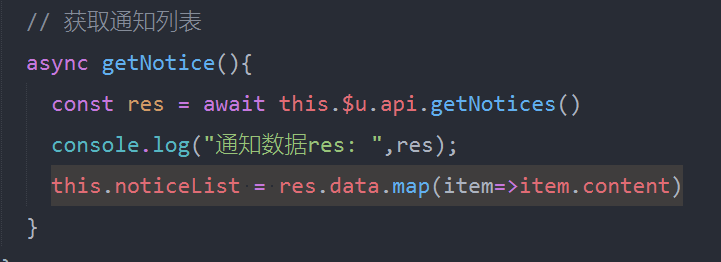
5. tabsSwiper 全屏选项卡 组件的使用(商城页)
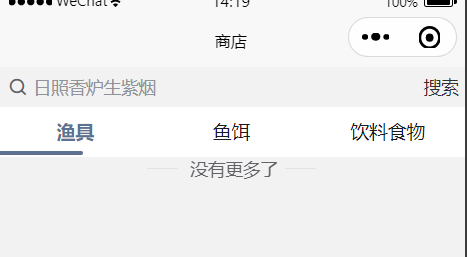
<template>
<u-tabs-swiper activeColor="#5d7291" :bar-width="138" inactive-color="#1a1b1d" ref="tabs" :list="list" :current="current" @change="change" :is-scroll="false" swiperWidth="750"></u-tabs-swiper>
</template>
<script>
export default {
data() {
return {
list: [],
};
},
onLoad() {
this.getGoodsCate();
},
methods: {
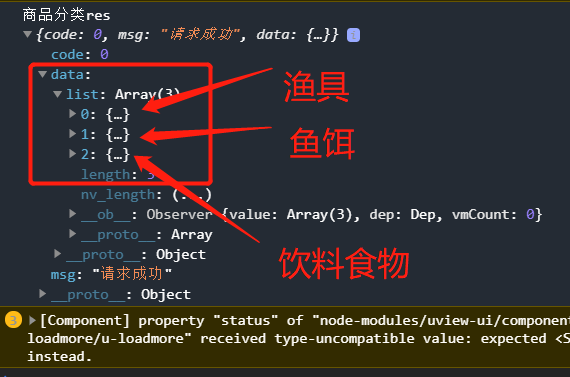
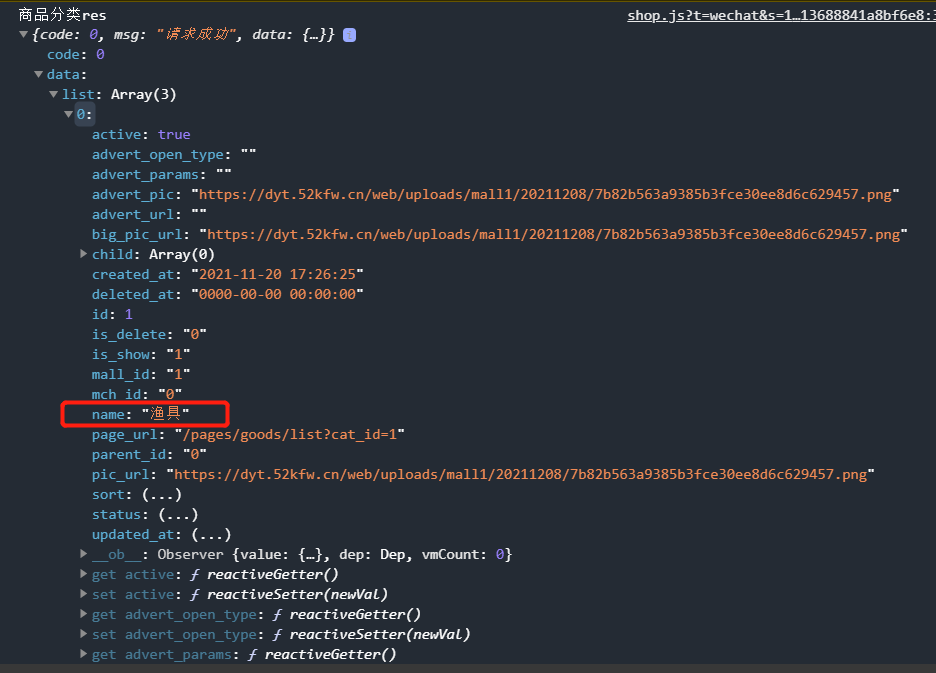
async getGoodsCate() {
const res = await this.$u.api.getGoodsCate();
// console.log('商品分类res', res);
this.list = res.data.list;
},
}
};
</script>默认读取list 数组中的 name 属性值作为选项值,上面接口正好有一个name属性

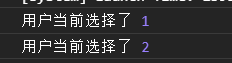
change 可以获取用户点击选项卡的索引 index
6. cursor-spacing 属性
微信小程序输入框唤起键盘时,键盘上边缘与小程序输入框下边缘零像素排列重叠 影响页面整体美观。
解决方法:小程序输入框设置属性cursor-spacing=‘10’ 即可完美解决。